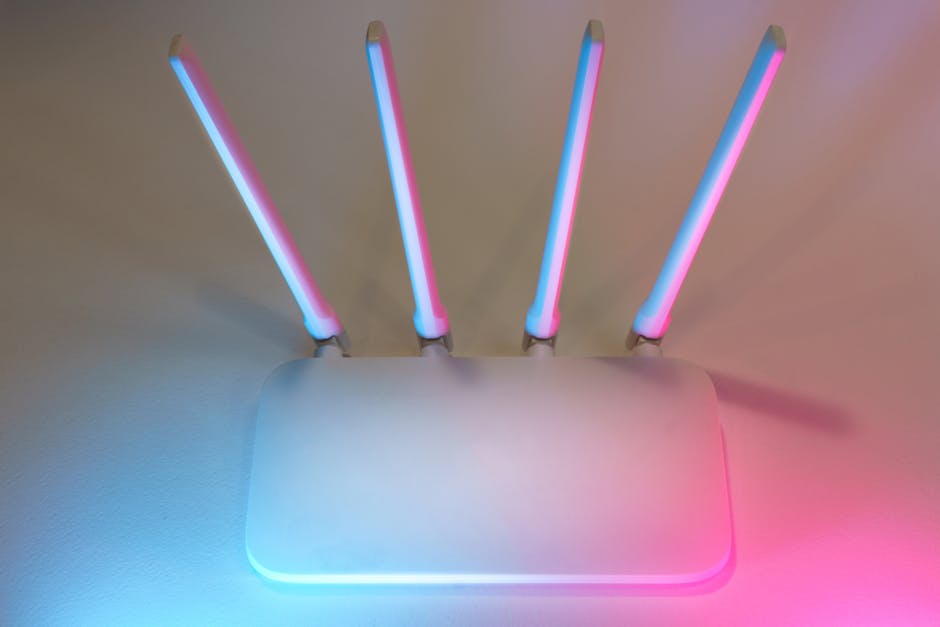
How to Secure Your Home Wi-Fi in 10 Minutes
Six dead-simple steps to lock down your home network before your next cup of tea goes cold. No networking degree required.
Here's a fun fact to ruin your morning: most home Wi-Fi networks are about as secure as a diary with a "Keep Out" sticker on it. The default settings your router shipped with are basically an open invitation to anyone who fancies a poke around your network.
The good news? You can fix that in roughly the time it takes to make a decent cup of tea. We're talking six steps, ten minutes, and you'll be more secure than about 90% of households in the UK. No networking degree required.
Grab your phone or laptop and let's sort this out.
Step 1: Change Your Router's Admin Password
The one everyone forgets about
Your router has two passwords: the Wi-Fi password (the one you give to guests) and the admin password (the one that lets you change settings). That admin password? It's almost certainly still set to something like "admin" or "password" — and those defaults are publicly listed on the internet for every router model ever made.
To change it:
- Open a browser and type 192.168.1.1 or 192.168.0.1 into the address bar (one of these should work — check your router's sticker if neither does)
- Log in with the current admin credentials (again, check the sticker on the bottom of your router)
- Find the administration or system settings section
- Change the admin password to something unique
This takes about 90 seconds and closes one of the biggest security holes in your home.
Step 2: Update Your Router's Firmware
The digital equivalent of locking your windows
Firmware is just the software that runs on your router. Like any software, it gets security updates — patches for vulnerabilities that hackers have discovered. The problem? Most people never update their router firmware. It just sits there running the same version it shipped with in 2019.
While you're logged into your router's admin panel:
- Look for a section called Firmware Update, Software Update, or System Update
- Hit "Check for Updates" (or download the latest version from your router manufacturer's website)
- Install it and wait for the router to restart
Some newer routers (like those from Eero, Google, or mesh systems) update automatically. If yours does, brilliant — you can skip this step. But do check, because "I assumed it updated itself" is how vulnerabilities hang around for years.
Step 3: Make Sure You're Using WPA3 (or WPA2 at Minimum)
The encryption that actually matters
When data travels between your devices and your router, it's encrypted — scrambled so that anyone listening in can't read it. But not all encryption is created equal.
Here's the quick rundown:
- WEP — Ancient. Can be cracked in minutes with free tools. If you're still on WEP, this is a "drop everything and fix it now" situation.
- WPA2 — Solid. Been the standard for years and is perfectly fine for most households.
- WPA3 — The newest and strongest option. Better protection against brute-force password guessing.
In your router settings, look for Wireless Security or Encryption settings. Select WPA3 if it's available, or WPA2/WPA3 mixed mode if you have older devices that don't support WPA3 yet. If your only option is WPA2, that's still perfectly good — just make sure it's not set to WEP or "Open".
Step 4: Create a Proper Wi-Fi Password
"password123" is not it, mate
Your Wi-Fi password is the front door to your network. Make it a good one:
- At least 12 characters (longer is better)
- Avoid dictionary words on their own ("sunshine" is out)
- Use a passphrase — a string of random words that's easy to remember but hard to guess. Something like "correct-horse-battery-staple" or "purple-penguin-plays-piano"
A passphrase like that is both easier to type when connecting a new device and significantly harder to crack than a short, complex password like "X7#mK2!". Length beats complexity every time.
Yes, you'll need to reconnect all your devices. It's mildly annoying for five minutes. Your future self will thank you.
Step 5: Set Up a Guest Network
One network for you, one for everyone else
Most modern routers let you create a separate guest network. This is a second Wi-Fi network that shares your internet connection but is completely isolated from your main network.
Why bother? Two reasons:
Visitors can connect without accessing your devices. When your mate asks for the Wi-Fi password, you give them the guest one. They can scroll TikTok to their heart's content without being able to see your network-attached storage, printers, or smart home gadgets.
It's great for smart home devices. Many smart plugs, bulbs, and cameras have questionable security track records. Putting them on a guest network means that even if one gets compromised, the attacker can't reach your laptop or phone. If you're thinking about getting into smart home tech, this is a solid foundation — have a read of our guide to what a smart home actually is for the full picture.
Look for Guest Network or Guest Access in your router settings. Give it a different name and password from your main network.
Step 6: Disable WPS
Convenient, yes. Secure, absolutely not.
WPS (Wi-Fi Protected Setup) is that button on your router that lets you connect devices by pressing a button or entering a short PIN instead of typing the full password. Sounds handy, right?
The problem is that the PIN method has a well-known vulnerability. The 8-digit PIN can be cracked relatively quickly because of how the authentication works — an attacker only needs to guess two 4-digit halves separately, which takes hours rather than years.
In your router settings, find WPS and switch it off. You'll type your password like a normal person from now on. It's a tiny inconvenience for a genuine security improvement.
Bonus: Should You Hide Your Network Name (SSID)?
Spoiler: it's not worth the hassle
You'll see this advice everywhere: "Hide your SSID so hackers can't see your network!" It sounds logical, but it's essentially a myth.
Hiding your network name means it won't appear in the normal Wi-Fi list on phones and laptops. But here's the thing — your router still broadcasts its presence, and anyone with freely available tools (like Wireshark) can see it in seconds. It's like taking the nameplate off your front door but leaving the house exactly where it is.
Worse, hiding your SSID can actually cause problems. Your devices will constantly probe for the hidden network by name, which can leak your network name in places you don't want it.
Skip this one. The six steps above are all genuinely effective. This one just adds hassle for no real benefit.
That's It — You're Sorted
Ten minutes well spent
Six steps. Ten minutes. And your home network is now significantly more secure than the vast majority of households.
To recap what you've done:
- Changed the router admin password (no more "admin/admin")
- Updated the firmware (patched known vulnerabilities)
- Enabled WPA3 or WPA2 encryption (your data is properly scrambled)
- Set a strong Wi-Fi passphrase (no more dictionary words)
- Created a guest network (isolation for visitors and smart devices)
- Disabled WPS (closed a known attack vector)
None of this requires buying new equipment or hiring an IT consultant. It's just good digital hygiene — the home network equivalent of locking your doors at night.
If you're planning to add smart devices to your newly secured network, check out our guide to choosing your first smart home devices. A secure network is the perfect foundation for a smart home that doesn't keep you up at night worrying.