Home Assistant Energy Dashboard for UK SMETS2 Meters
Connect your UK SMETS2 smart meter to Home Assistant's Energy dashboard - n3rgy, Hildebrand Glow, and Octopus integrations compared step by step.

The Home Assistant Energy dashboard is one of the most useful features the platform has shipped - a single pane that tracks electricity, gas, solar, and EV charging across the whole house. The catch for UK households is that your SMETS2 smart meter won't talk to it out of the box. The Data Communications Company (DCC) keeps the meter's Home Area Network locked down, so there's no plug-and-play local API. The good news: three well-supported integrations bridge the gap, and the right choice mostly comes down to how much you care about real-time data versus cost and simplicity.
This guide walks through all three - n3rgy.com, the Hildebrand Glow IHD, and the Octopus Energy community integration - then shows how to wire your meter data into the Energy dashboard, set up utility-meter helpers, and build cost-tracking automations.
Why SMETS2 doesn't make this easy
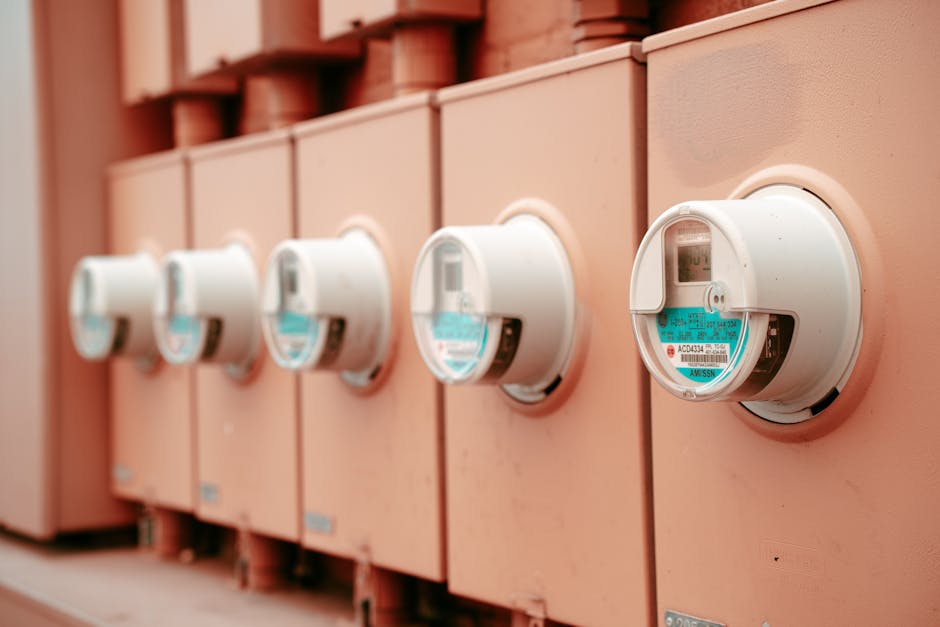
The UK's second-generation smart meters (SMETS2) sit behind a centrally-managed network run by the DCC. Every meter on the rollout talks to the DCC via a cellular or radio backhaul, and only authorised parties - your supplier, the network operator, and accredited third parties - can request data through it.
The meter does broadcast readings over a local Zigbee mesh called the Home Area Network (HAN). In theory you could put a Zigbee receiver in your house and pick up the broadcasts directly, which is exactly what the in-home display that came with your meter does. In practice, the HAN uses an authentication scheme that locks out anything not commissioned to your meter by the DCC - you can't just pair a generic Zigbee stick to it.
That's where Consumer Access Devices (CADs) come in. A CAD is a piece of hardware that's been registered with the DCC, paired to your specific meter, and authorised to read its data. Once joined, it can either expose the data locally over Wi-Fi/MQTT (the route Hildebrand takes) or push it to a cloud service the user can then query (the route n3rgy takes). Either way, you're not bypassing DCC - you're using it through a sanctioned door.
Octopus Energy gives you a third path that skips local hardware entirely. As your supplier, Octopus already has the right to pull half-hourly readings from your meter via the DCC, and they expose those readings back to you through a REST API tied to your account.
Your three integration paths at a glance
Each option has different trade-offs across cost, granularity, cloud dependency, and supplier requirements:
- n3rgy - free, no hardware, cloud, half-hourly D+1.
- Hildebrand Glow - one-off ~£70 hardware, local, real-time (~10-second updates), works regardless of supplier.
- Octopus Energy integration - free, no hardware, cloud, half-hourly D+1, but Octopus-only.
For most households the deciding factor isn't technical - it's whether you're already on Octopus (in which case path 3 is essentially free and gives you full tariff-aware cost tracking), and how much real-time matters to you. If you're tuning a heat pump or running an EV on an Intelligent Octopus tariff, the live data from a Glow stick is worth the £70. If you just want the dashboard to populate so you can spot the £80/month TV-on-standby hidden in your usage, n3rgy is fine.
Option 1: n3rgy data feed (free, no hardware)
n3rgy.com is a free consumer-access service that sits between the DCC and you. Register with your MPAN (electricity) or MPRN (gas) and the meter's GUID - both printed on the bill or visible on your in-home display - and within roughly 24 hours your historical half-hourly data is available through their API.
Once you're set up, install one of the community n3rgy Home Assistant integrations through HACS. It polls the n3rgy API and creates sensors for electricity (and gas, if you've added the MPRN). The granularity is half-hourly and lags by one day - yesterday's readings come in around 9am the next morning. That's plenty for a usage dashboard but useless for live load monitoring.
Setup in summary:
- Sign up at the n3rgy consumer portal with your MPAN/MPRN and the meter GUID.
- Wait ~24 hours for the first data to land in your account.
- Add the n3rgy integration in HACS, point it at your account, restart Home Assistant.
- The integration exposes total daily consumption sensors per fuel type, plus half-hourly history.
The big caveat is the cloud dependency. Your data flows from the meter, via DCC, to n3rgy's servers, to your Home Assistant. If n3rgy ever turns the lights off or starts charging, your historical data goes with it. For a free service that asks nothing of you, that's an acceptable trade - but plan for the possibility of migrating off it.
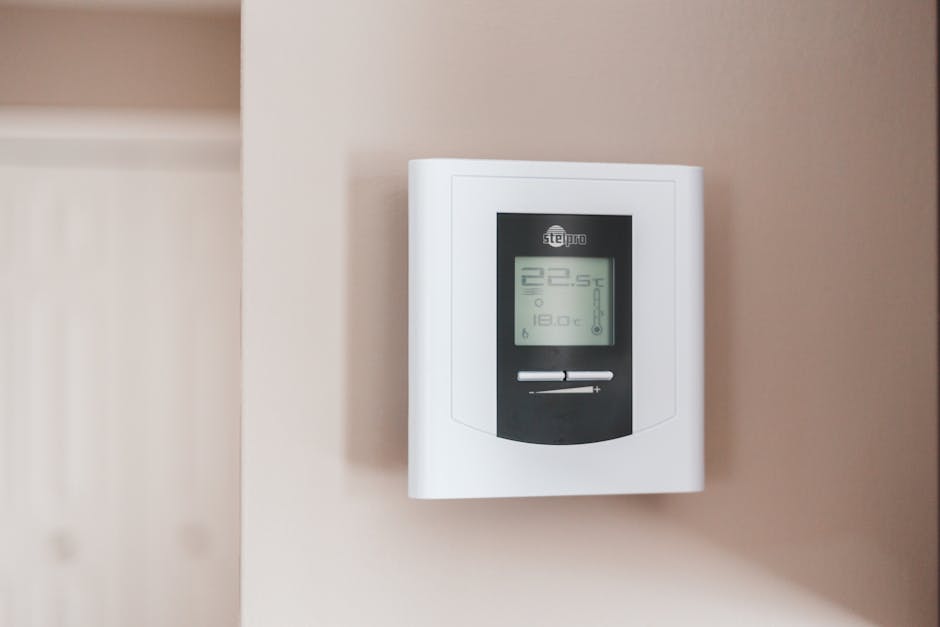
Option 2: Hildebrand Glow IHD (local, real-time)
The Hildebrand Glow IHD is a small Zigbee CAD device that pairs to your SMETS2 meter and republishes readings over MQTT - both to Hildebrand's cloud (used by the Bright app) and, crucially, to a local MQTT broker on your network. The local stream updates roughly every 10 seconds for electricity, with gas readings whenever the meter wakes up to broadcast (typically every 30 minutes, because gas meters are battery-powered).
You can buy it from Pimoroni in the UK. Once you've unboxed it, the workflow is:
- Plug it in within Zigbee range of your meter (usually anywhere in the house).
- Sign up for the Bright app - that triggers the commissioning request through Hildebrand's DCC integration.
- Wait for commissioning to complete (typically a few hours, occasionally a day or two).
- In the Bright app or Hildebrand portal, opt into local MQTT and note the credentials.
- Configure Mosquitto on Home Assistant (the official MQTT broker add-on works fine), then install the
ha-hildebrandglow-dcccintegration via HACS pointed at the local broker.
The integration creates sensors for instantaneous power draw, daily kWh, monthly kWh, and gas (where available). Because the broker is on your LAN, the data path is meter → IHD → your MQTT broker → Home Assistant, with no cloud round trip. If your internet drops, the dashboard keeps updating.
The real-time data unlocks a different class of automation. You can spot the kettle and dishwasher cycling, kick off solar-diverter logic the moment grid draw goes negative, or have Home Assistant alert you when a heat pump goes into defrost mode based on the consumption signature.
Option 3: Octopus Energy integration
If you're on Octopus Energy, the community-maintained HomeAssistant-OctopusEnergy integration is the obvious answer - and arguably the best of the three, because it gives you tariff-aware cost data that the other two can't.
Setup:
- Log into your Octopus account, go to Developer, and generate an API key.
- Note your account number - it's on every bill, format
A-XXXXXXXX. - Install the Octopus Energy integration via HACS.
- Add the integration via Settings → Devices & Services, paste your API key and account number.
The integration creates a thicket of sensors automatically: current electricity rate, current standing charge, today's consumption, today's cost, gas equivalents, and - if you're on a smart tariff - half-hourly upcoming rates for the next day's Agile prices, Octopus Go off-peak windows, or Intelligent Octopus dispatch slots.
The Agile-rate sensors are particularly useful. You can build an automation that runs the dishwasher only when the half-hourly rate drops below your threshold, charges the EV in the cheapest four-hour window each night, or sends a notification when prices go negative (which happens more often than you'd think on a windy day).
The one limitation: data is half-hourly with the same D+1 lag as n3rgy - you're consuming Octopus's API rather than reading a local stream - so don't expect live load monitoring. For that, pair the integration with a Glow IHD and use the IHD for real-time consumption and the Octopus integration for tariff-aware cost tracking.
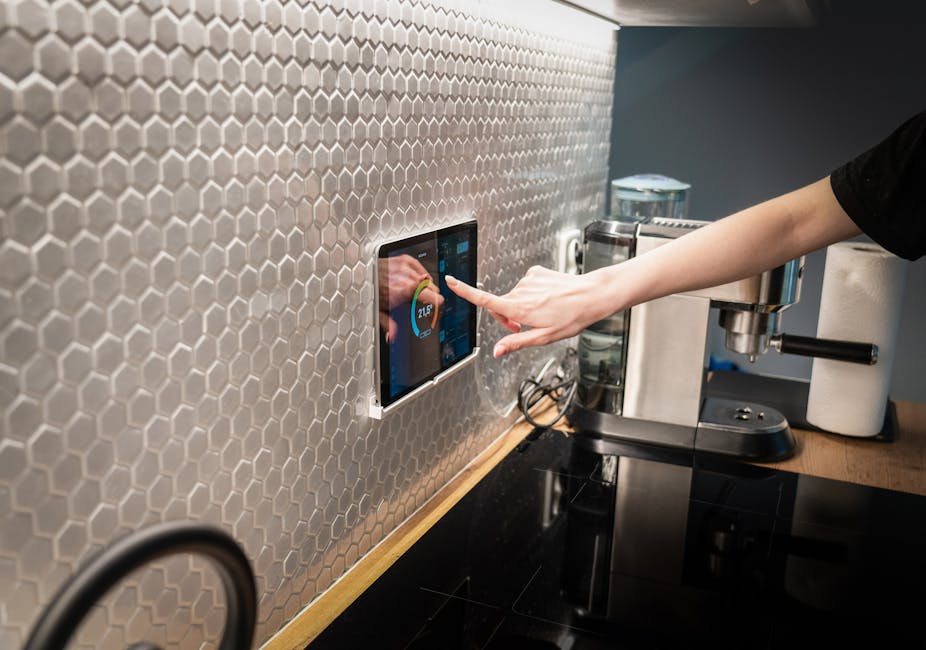
Wiring it into the Energy dashboard
Once an integration is providing kWh sensors, the rest is configuration. Open Settings → Dashboards → Energy and you'll see five sections: electricity grid, solar panels, home battery storage, gas, and water.
Under Electricity grid, click Add consumption and pick the cumulative kWh sensor your integration provides. The key word is cumulative - the dashboard expects a monotonically-increasing total, not instantaneous power. If your integration exposes both, choose the daily or lifetime kWh sensor.
If you have solar with export, add the Return to grid sensor (cumulative export kWh) in the same panel. Under Solar panels, add the cumulative solar generation sensor from your inverter integration (SolarEdge, GivEnergy, Solis, Enphase - they all expose this).
For costs, either tie each grid sensor to a per-kWh price entity (the Octopus integration provides one) or enter flat-rate pricing in the dashboard config. Per-entity pricing is what you want for time-of-use tariffs.
Save, give Home Assistant an hour to start aggregating, and the dashboard fills out. The first day will show partial data; by day two you'll have a full set of hourly bars across consumption, cost, and (if relevant) solar and battery.
Adding utility_meter helpers
The Energy dashboard handles the day/week/month aggregation natively, but if you want to expose those buckets as their own entities - to put on a Lovelace card, fire an automation off, or send to a notification - the built-in utility_meter helper does the job.
You can configure these through the UI (Settings → Devices & Services → Helpers → Create Helper → Utility meter), or via YAML:
utility_meter:
  daily_grid_consumption:
    source: sensor.grid_consumption_kwh
    cycle: daily
  monthly_grid_consumption:
    source: sensor.grid_consumption_kwh
    cycle: monthly
Each utility-meter entity resets on its cycle boundary (midnight for daily, the first of the month for monthly) and tracks the source-sensor's delta in between. Add as many as you want - daily, weekly, monthly, quarterly, yearly - pointing at the same source sensor.
This is also how you split consumption when you have a single grid sensor but want to attribute usage to different appliances. Combine a utility_meter with a template sensor that subtracts your EV charger's known draw, and you get a usable approximation of household-minus-EV consumption.
Cost tracking: per-kWh vs Agile vs Go
For a fixed-rate tariff, the Energy dashboard's built-in flat-rate config is fine - enter your pence-per-kWh and standing charge and forget about it.
For a time-of-use tariff, you want entity-based pricing. The Octopus integration handles this automatically, exposing a current_electricity_rate sensor that updates every half hour to match what you're actually being charged. Configure the Energy dashboard to use that entity as the cost source instead of a static price, and the costs in your dashboard will reflect the real per-half-hour rate.
For Agile, this is especially important - the rate can range from 35p in peak winter evenings down to -5p when wholesale prices go negative. Your dashboard will track all of it, and an automation listening to the rate sensor can run high-draw loads during the cheap windows automatically.
For Go or Intelligent Octopus, the rate sensor flips between off-peak and standard automatically based on the configured window. An automation that triggers when the sensor reads below your threshold is a one-liner: have the heat pump pre-heat, the dishwasher run, the EV charger kick on, or the immersion top up the hot-water cylinder.
Gas, solar, and EV charging
Gas: both n3rgy and the Octopus integration expose gas-meter readings if you've registered your MPRN. The Glow IHD reads gas too, but updates are sparse - typically every 30 minutes because the gas meter only wakes up periodically to preserve battery. Add the gas sensor under the Energy dashboard's gas section the same way you added electricity.
For prices, the Octopus integration provides gas rates and standing charges in the same shape as electricity. For other suppliers, set a flat-rate price in pence per kWh (your gas bill will quote in kWh, not cubic metres - the meter conversion is handled upstream).
Solar: solar inverter data doesn't come from the smart meter - it comes from the inverter itself via its own integration. SolarEdge, GivEnergy, Solis, Growatt, Enphase, Tesla, and most others have HACS integrations. Add the generation sensor to the solar panel section, and the return-to-grid sensor (which does come from your smart meter, as a separate export reading) to the electricity grid section.
EV charging: if your charger reports its own kWh delivered to the car (Zappi, Ohme, Wallbox, and most Type 2 OCPP chargers do), add it as a named individual device under the electricity grid panel. The Energy dashboard will then break out EV charging separately from household consumption.
Common gotchas
Instantaneous vs cumulative sensors - the dashboard needs cumulative kWh, not power in watts. If your sensor's unit is W or kW, it's the wrong one.
State class matters - sensors need state_class: total_increasing or total. measurement doesn't work. Check via Developer Tools → States.
Meter resets confuse the dashboard - if the underlying sensor resets to zero (firmware update, device restart), HA can interpret the drop as a huge negative reading. The Octopus and n3rgy integrations handle this; some older custom integrations don't.
Half-hourly lag - both Octopus and n3rgy show yesterday's data this morning. Don't refresh the dashboard hourly waiting for the last 30 minutes to appear.
n3rgy commissioning can take 48 hours - not always 24. If your account is empty after a day, give it another.
Glow IHD signal range - needs to be within Zigbee range of the meter, not the router. If your meter is in an outdoor cupboard, you may need to position the IHD nearby and pull data over Wi-Fi.
Octopus API key rotation - if you regenerate the key in your account, the integration silently stops working until you update the credentials in HA.
Gas readings are sparse - every 30 minutes or longer. The dashboard will show stepped, not smooth, gas consumption regardless of the integration.
Frequently asked questions
Q01Do I need a Raspberry Pi to run Home Assistant for this?
Q02Will this work with a SMETS1 meter?
Q03Can I use the Hildebrand Glow without an account?
Q04Which integration gives the most accurate cost data?
Q05Can I run all three integrations at once?
Q06What if I'm not on Octopus?

Getting Started with Home Assistant
Home Assistant Dashboard Setup: A No-YAML Guide